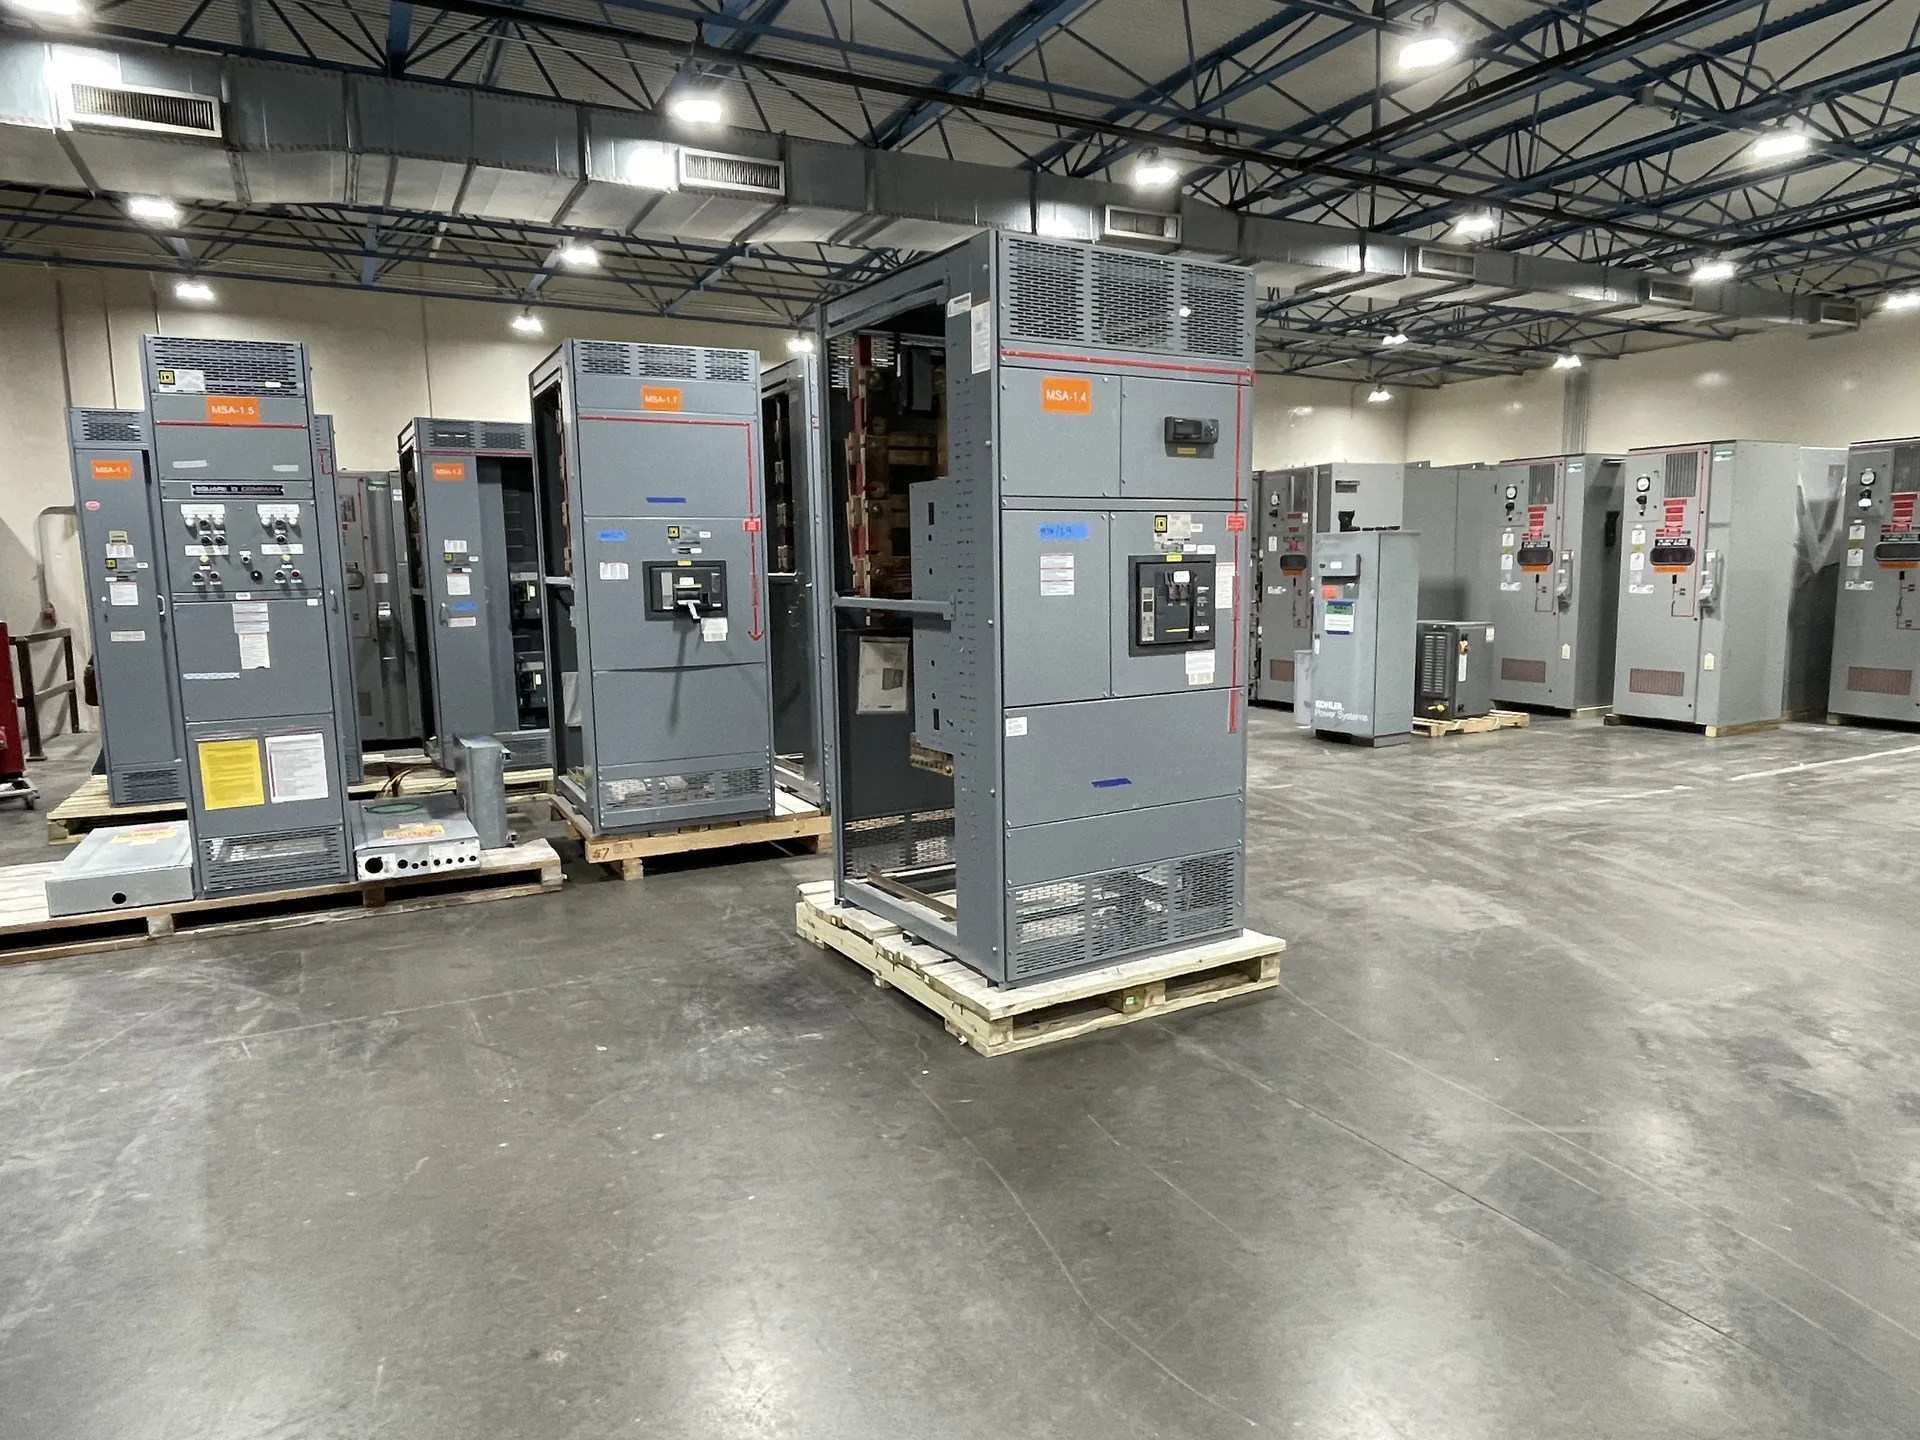
Power distribution, with purpose.
Switchgear power cable termination design starts with the conductors and lugs that must meet the equipment—not with a generic assumption about how cables will enter. Early coordination of cable data, routing, working space and connection details helps identify fit conflicts before a switchboard or switchgear assembly is built. For a new-equipment quote, provide the best available cable and site information, and flag items that remain subject to the engineer’s or installing contractor’s confirmation.
Start with conductor and lug information
The termination plan should identify the conductor material, insulation type, size, number of parallel conductors per phase, and the quantity and function of each cable. Include neutral and equipment-grounding conductors where applicable. State whether conductors are single-conductor or multiconductor cables, and provide the cable manufacturer’s outside diameter when known. A conductor size by itself does not establish the space needed at the termination: insulation thickness, lug body dimensions, barrel length and cable stiffness can all affect fit.
Identify the proposed lug type and connection method, including whether the termination is compression or mechanical and whether the lug is supplied with the cable, specified by the project, or expected as part of the equipment scope. Lug hole pattern, pad orientation, conductor range, material compatibility and the equipment terminal’s approved range need review together. Do not assume a lug is included or compatible unless the specific order documents confirm it. Where selections are not final, mark them as pending rather than allowing an unverified lug detail to become a fabrication assumption.
Resolve cable entry direction and routing
Show whether power cables approach from above or below, and identify the intended entry side or compartment. The choice can influence enclosure layout, termination location, barriers, bus arrangement, cable supports and the route between the entry point and terminal. Provide the cable tray, trench, conduit or other approach information that is available, along with approximate entry locations and any physical obstructions. A top-entry preference may not suit every room or routing plan, just as bottom entry should not be presumed from a typical installation.
Entry direction is an interface decision between the equipment design and the building’s cable pathway. Changes to the approach late in the process may affect enclosure features, internal clearances or the required cable route. For installations in Dallas–Fort Worth or elsewhere, the useful input is the actual project layout and routing constraint—not an assumption based on geography. If the site arrangement is still developing, identify the current design basis and the party responsible for confirming final entry coordinates before release.
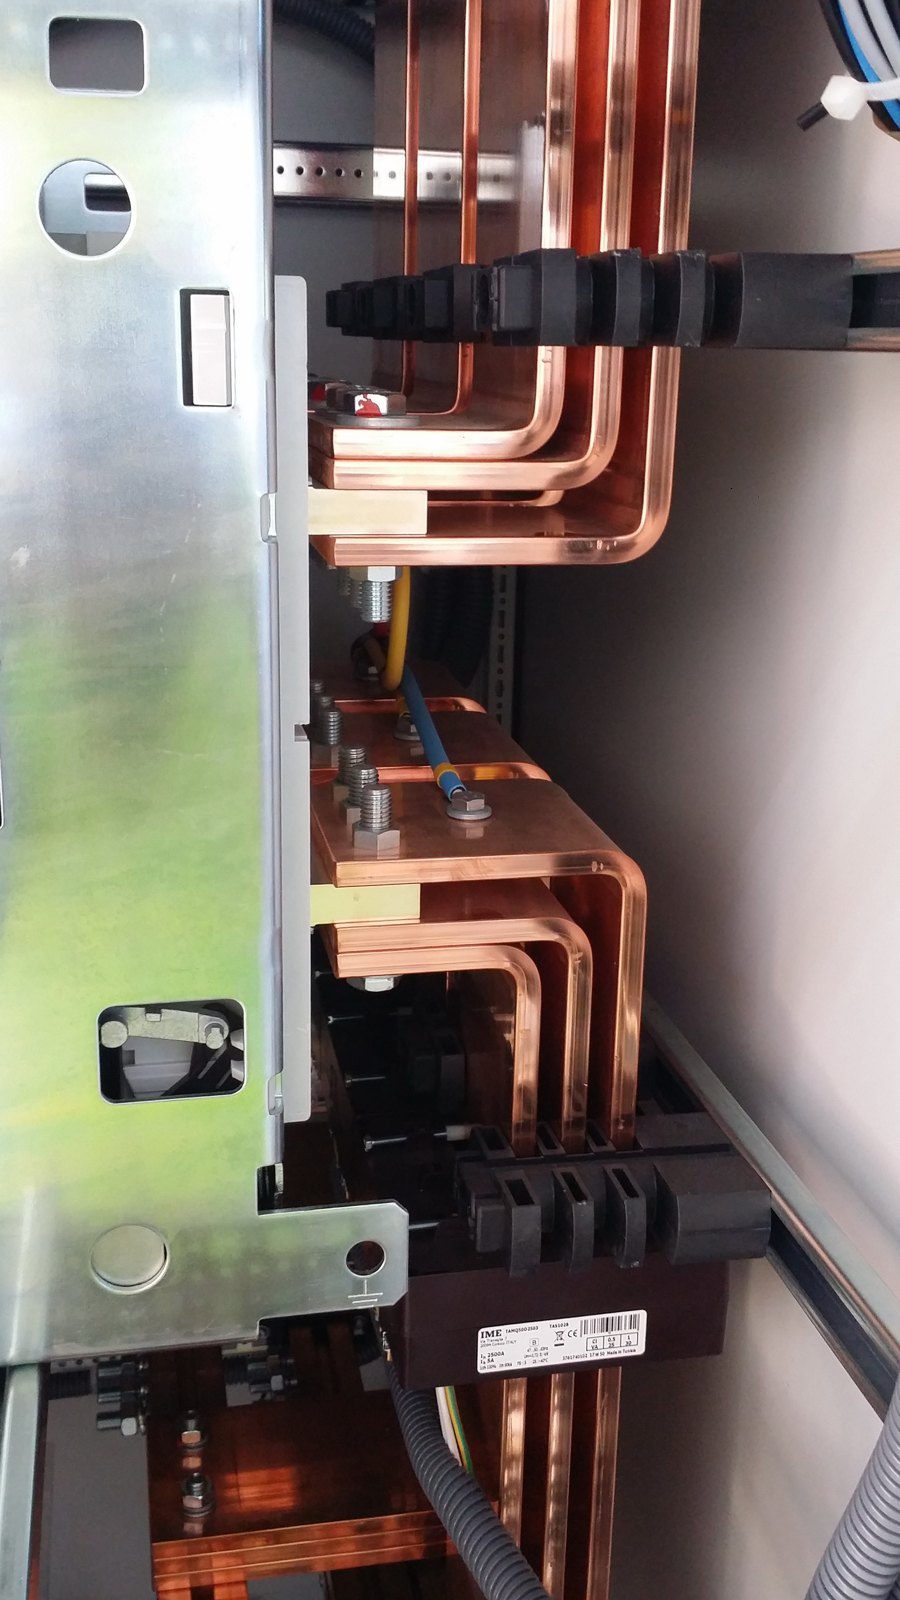

Check bend space, working room and access
Cable bend space must be considered with the selected cable construction, conductor size and entry path. A cable’s permitted bend radius is determined by applicable cable information and project requirements; it should not be guessed from enclosure dimensions. The design review also needs to account for how conductors reach their terminals without interference with other cables, barriers or adjacent components. Confirm whether the proposed routing leaves room for the intended cable quantity and any required separation or support provisions.
Physical access matters as much as geometric fit. Consider how cable ends will reach the connection points, how a qualified installer can position and secure the specified lugs, and whether enclosure doors or removable covers allow the intended work. The available room outside the equipment can constrain cable preparation and approach even when the internal termination area appears adequate. These are planning checks, not field instructions; installation methods, torque values, clearances and other work details must come from approved equipment and component instructions and the project’s governing requirements.
Coordinate electrical ratings and interfaces
Termination layout must agree with the electrical one-line, equipment schedule and protection design. Supply system nominal voltage, phase and wire arrangement, frequency, service configuration, ampere requirements, and specified short-circuit duty for review. Distinguish nominal system voltage from the equipment’s maximum voltage rating, and identify the available fault-current information and its source when known. These details affect equipment selection and internal arrangement; a cable-fit review cannot establish that an assembly is suitable for the electrical duty.
Also identify the equipment and field interfaces that shape the termination: incoming or outgoing feeder function, main device arrangement, metering or protection requirements, and any specified neutral or grounding treatment. Applicable standards, ratings, components and any required U.S.-origin provisions must be confirmed for the specific order. UL 891 applies to low-voltage switchboards where applicable; it is not a general listing for medium-voltage or high-voltage switchgear. Do not infer a rating or listing from a preliminary sketch or from a requested voltage class.
Define the drawing record and review boundaries
A useful design record ties cable data to the equipment layout. Depending on the confirmed project scope, drawing outputs may include a termination-area arrangement, labeled connection points, entry direction, cable quantity and lug assumptions, plus dimensions or interface notes needed for review. A clear drawing should distinguish confirmed information from assumptions and open items. Revision control is important: a change in conductor size, lug pattern, cable count or entry location should trigger review of the affected layout rather than being treated as a minor substitution.
Equipment design documentation does not replace field routing drawings, cable calculations, installation procedures or final acceptance checks. The manufacturer’s scope and the engineer’s, contractor’s and owner’s responsibilities should be identified before release. For a quote, provide the one-line diagram, equipment schedule, cable and lug data, entry preference, available room and pathway drawings, required ratings and standards, and delivery constraints. If information is incomplete, state what is known and what remains to be verified; custom builds and American components may be considered, while shorter lead time is a goal rather than a guarantee.
Specifications & planning
Review the details that matter for your application. Final specifications and availability should be confirmed for your project.
| Evaluation factor | Information to provide |
|---|---|
| Cable set | Conductor material, size, insulation, quantity and cable outside diameter |
| Termination hardware | Lug type, connection method, hole pattern and responsibility for supply |
| Entry and routing | Top or bottom approach, entry location and pathway constraints |
| Space and access | Bend-radius basis, available room and access constraints; subject to engineering review |