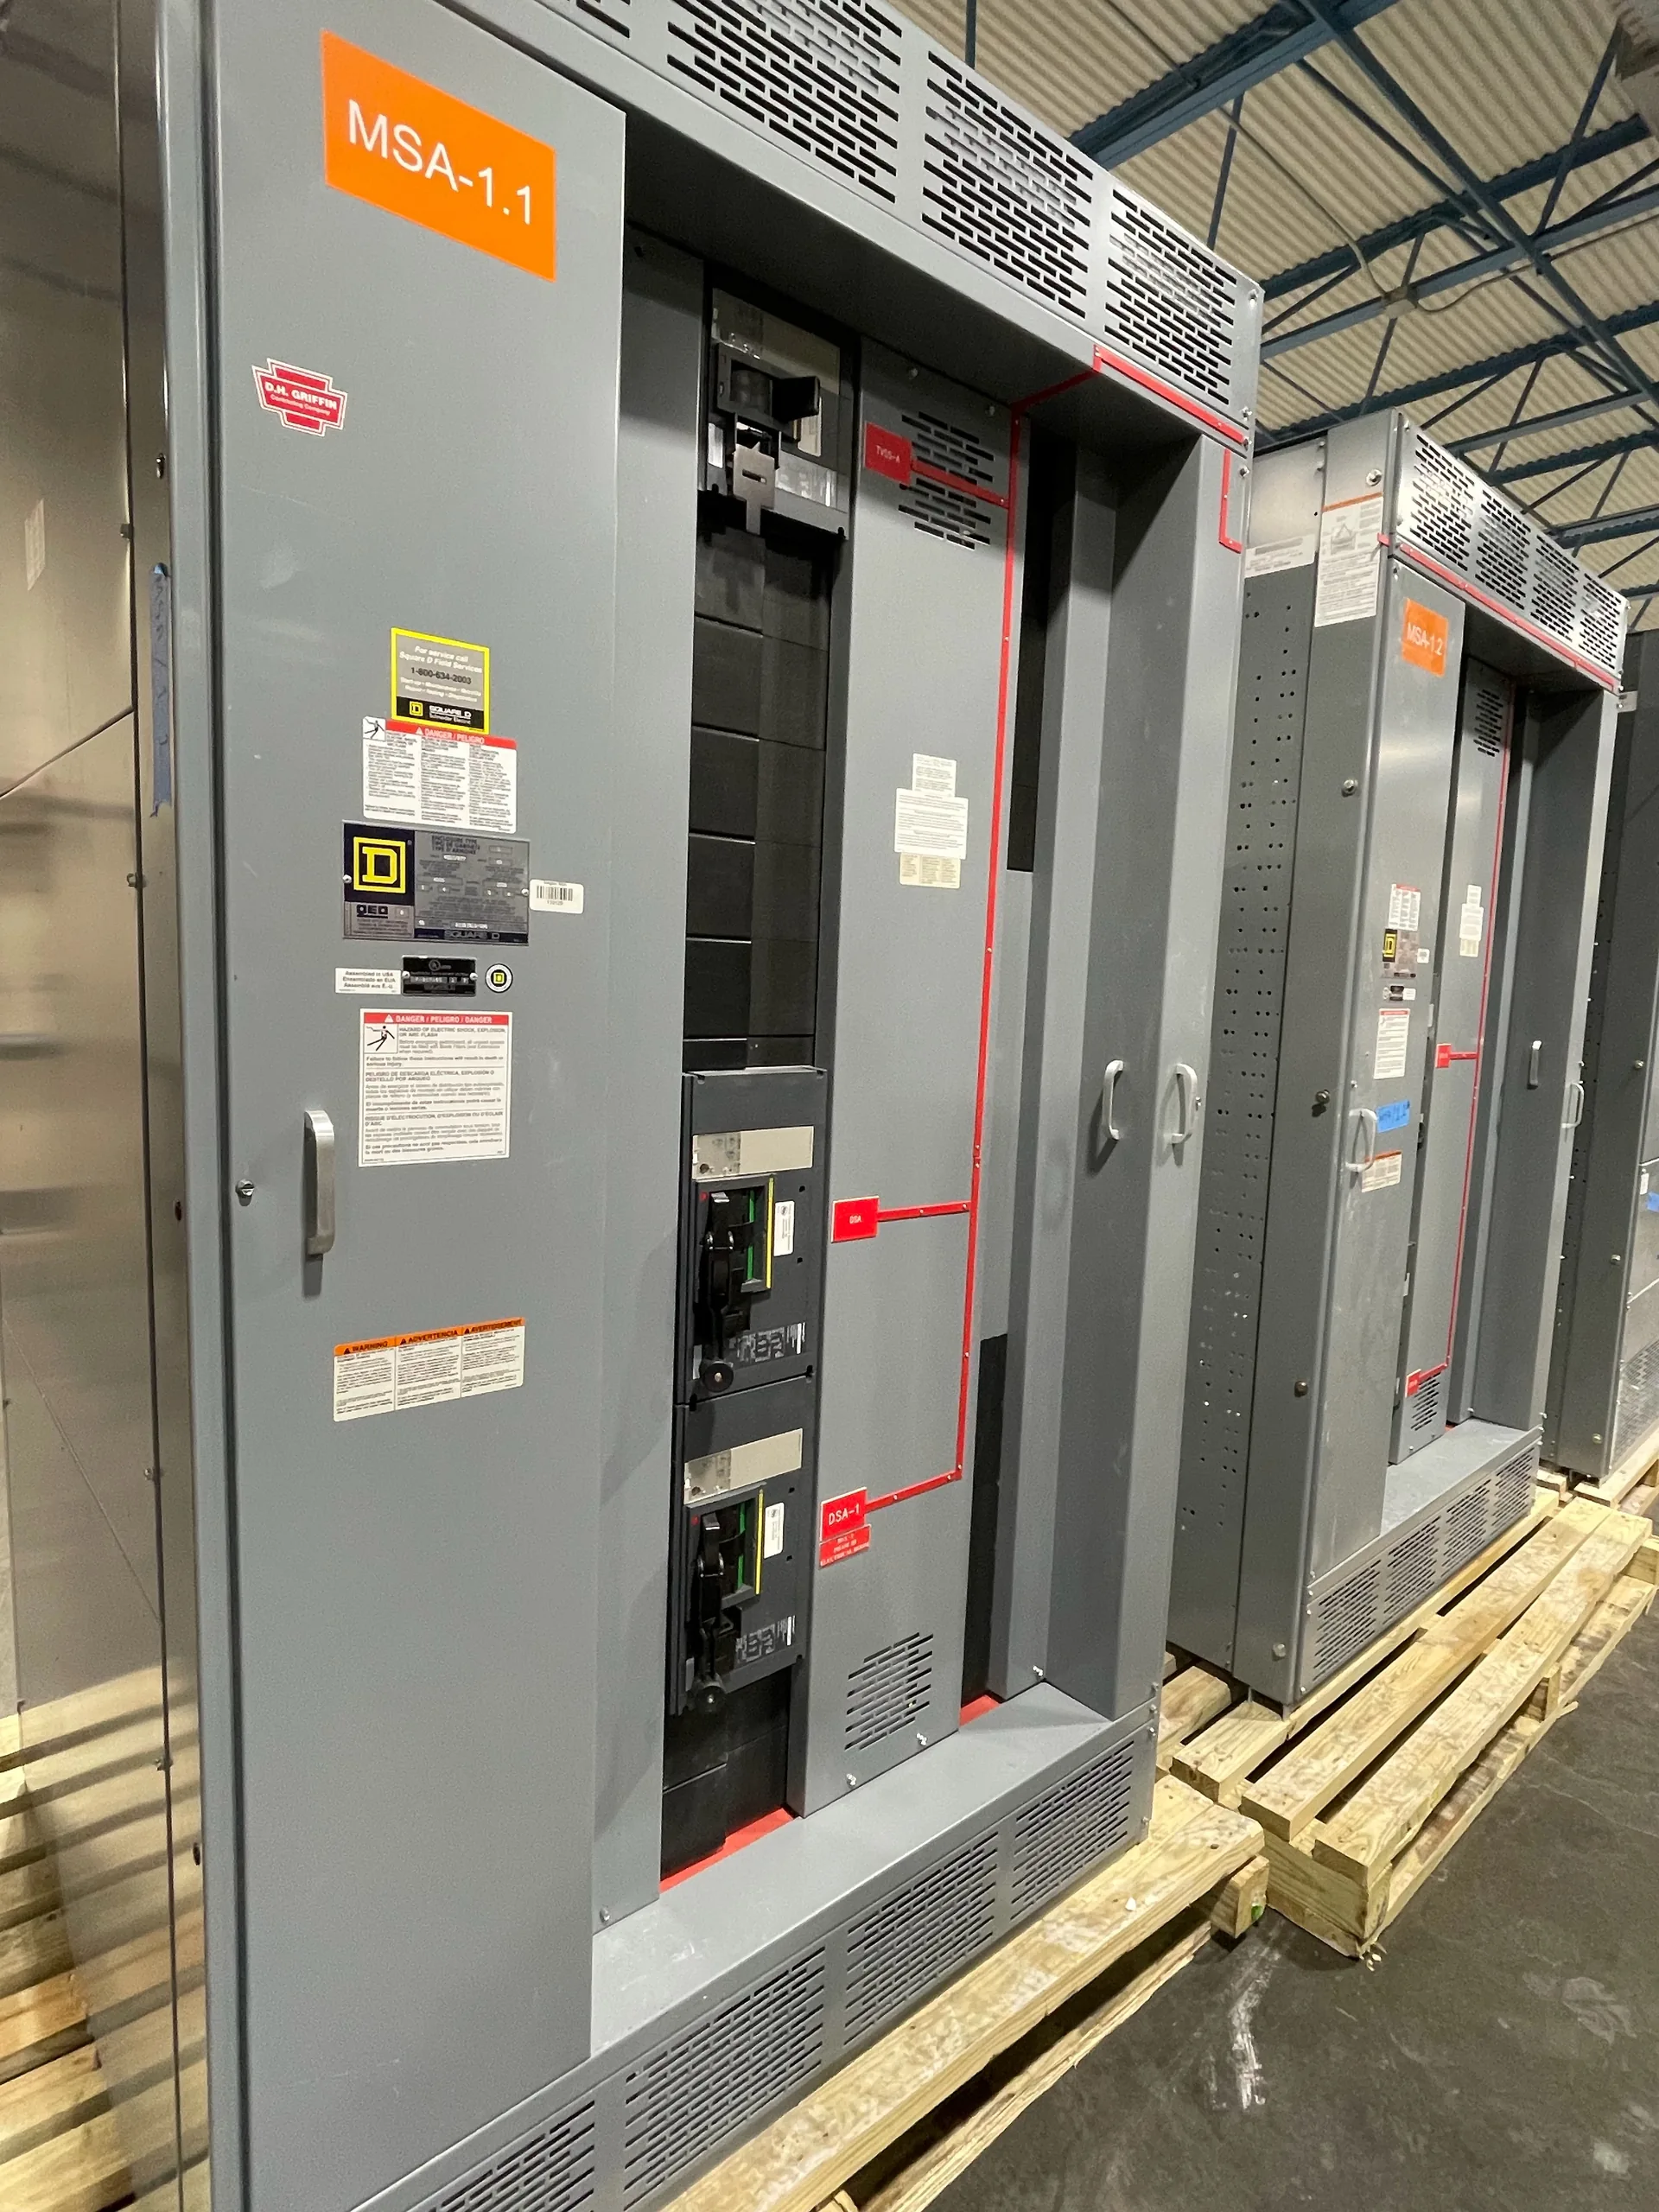
Power distribution, with purpose.
A switchboard footprint is more than the outline on a plan. Access direction, door swing, cable entry, termination space and the route into the electrical room can determine whether a design is practical to deliver and maintain. Evaluate these conditions early, then have the responsible design professional and authority having jurisdiction confirm required clearances and approvals for the specific project.
Choose access around the room, not just the lineup
A front-access arrangement places normal operating and service access at the front, with equipment configuration and cable terminations designed around the specified entry points. It can suit a room where the rear is close to a wall or otherwise unavailable, but that does not mean every lineup, component or maintenance task can be approached from the front. Confirm the proposed construction and service access requirements with the manufacturer and project design team rather than assuming a front-access label resolves every space constraint.
Rear access can provide a more direct path to rear cable compartments and terminations, but it requires usable space behind the equipment and a practical route for personnel to reach that area. A rear aisle may compete with other equipment, piping, doors or building structure. Compare both arrangements against the room plan, operating approach and maintenance plan; the smallest equipment outline is not necessarily the smallest workable installation.
Trace the delivery route and final position
Room dimensions alone do not establish that a switchboard can be brought into place. The delivery path may include exterior doors, corridors, turns, elevators, ramps or changes in floor elevation, each of which can limit the dimensions and handling approach for an assembled or sectional lineup. Supply the route constraints and any known restrictions so the proposed shipment configuration can be reviewed before release. Sectional construction may help address access limits, but its suitability, shipping breaks and field reconnection requirements must be confirmed for the particular design.
For projects in Dallas–Fort Worth or elsewhere, coordinate the equipment route with the building and logistics teams instead of assuming a local delivery or installation capability. The manufacturer can review the project information provided for equipment configuration and shipment planning; building access, rigging, movement, placement and installation responsibilities must be assigned in the project scope. Confirm who will receive, inspect and move the equipment, and how the final position will be checked against the approved drawings.
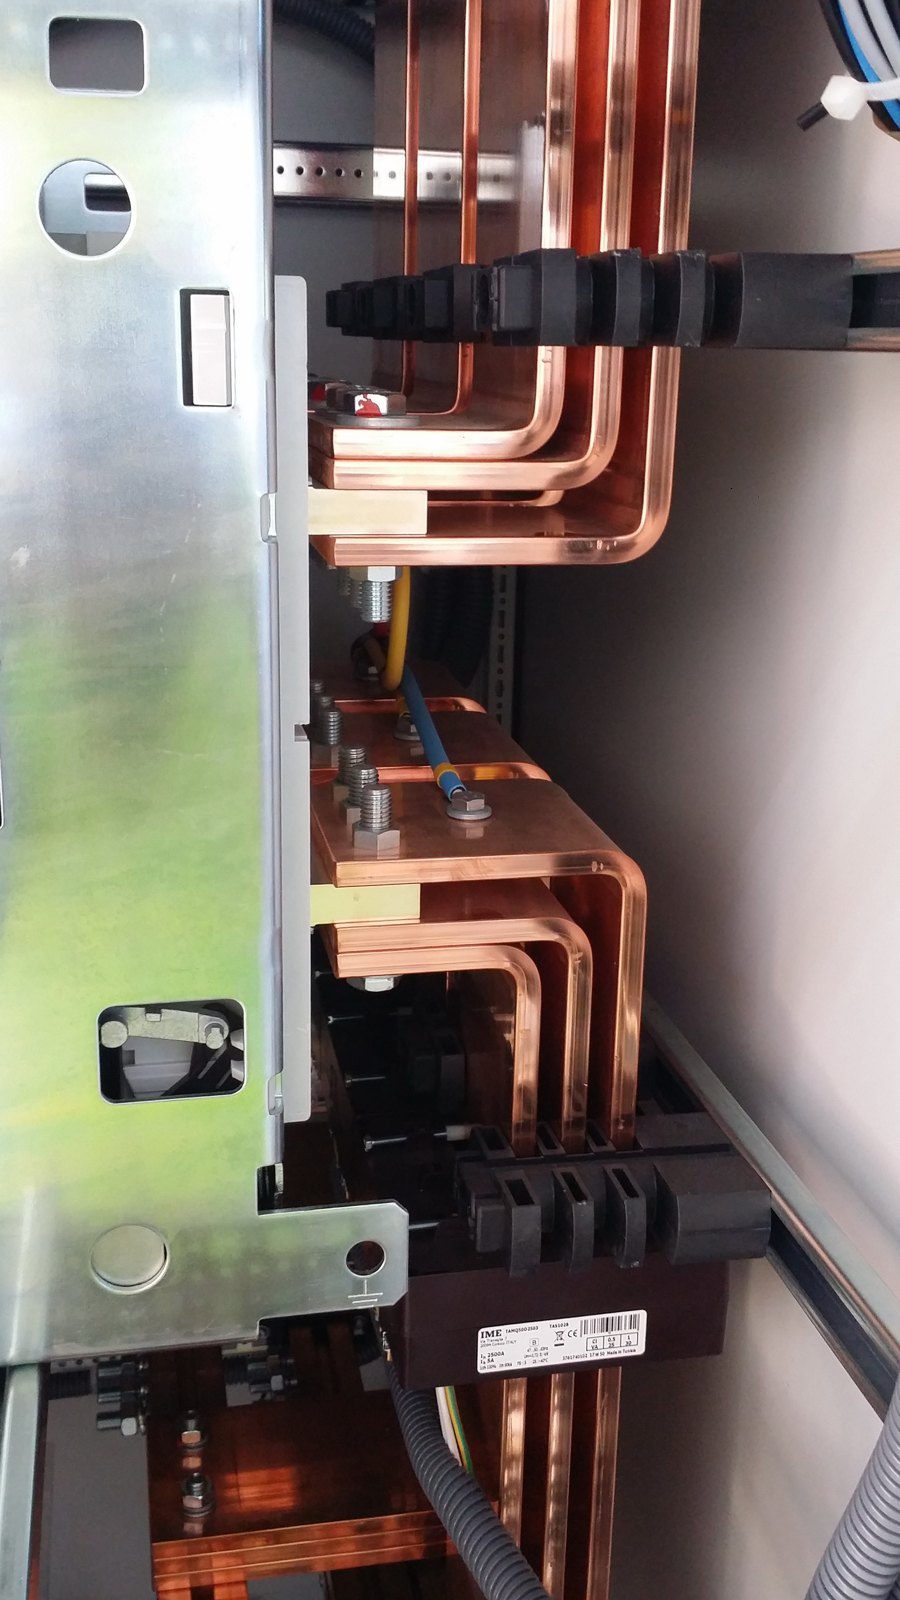

Coordinate cable entry and termination space
Cable direction and termination location can change the required footprint and access strategy. Identify whether incoming and outgoing conductors approach from above, below or another defined route, and provide conductor sizes, quantities, insulation details and termination preferences when available. Include conduit locations, bus duct interfaces and any known restrictions on bending space. A layout that fits the switchboard outline may still be unworkable if conductors cannot reach terminals with acceptable routing or if termination work conflicts with adjacent construction.
The physical interface also depends on the selected switchboard design, components and project electrical requirements. Clarify where cable compartments are needed, which sections receive incoming and outgoing connections, and whether equipment connections must align with existing infrastructure. Do not treat a preliminary layout as confirmation of final cable space or field routing. The design team must review applicable electrical and building requirements, while the equipment supplier confirms the proposed configuration against the project inputs and available components.
Use a representative footprint scenario
Consider a hypothetical renovation with a narrow electrical room, a wall behind the proposed lineup and a restricted corridor turn. A rear-access concept may be difficult because it needs a service aisle; a front-access concept could reduce dependence on rear space, but only if the selected construction supports the required cable terminations and maintenance approach. A shorter lineup is not automatically the answer: moving terminations, changing section arrangement or dividing the shipment may affect coordination, cost and field work, all of which need project-specific review.
The useful comparison is between complete, coordinated arrangements rather than nominal equipment dimensions alone. For each concept, show the lineup outline, doors and access paths, adjacent equipment, cable entry zones and known building obstructions. Mark assumptions separately from verified dimensions. The responsible engineer and authority having jurisdiction determine applicable clearances and acceptance; manufacturer input on equipment configuration does not replace their review or establish that a room layout is code-compliant.
Provide quote inputs and define approval boundaries
For a useful quotation, provide the one-line diagram, system voltage, available fault-current information, requested short-circuit rating, bus and device requirements, lineup arrangement, access preference, cable entry direction and termination details. Include room plans and elevations, delivery-route constraints, interface dimensions, environmental conditions, required standards, schedule target and any U.S.-origin requirements. Identify what is known, what remains provisional and who will approve drawings. These details help assess a custom new-equipment build and whether the desired configuration and components are available; a shorter lead time may be a goal, not a guarantee.
Before procurement, reconcile the quotation and submittal drawings with the electrical design, structural and architectural conditions, cable and bus connections, protection and controls, and installation scope. Confirm system nominal voltage separately from the equipment’s maximum rating, and verify ratings, component availability, applicable standards and origin requirements for the specific order. UL 891 applies to low-voltage switchboards when applicable; it should not be assumed to cover every assembly or voltage class. Final clearances, permits, code interpretation and project approval remain with the responsible professionals and authorities.
Specifications & planning
Review the details that matter for your application. Final specifications and availability should be confirmed for your project.
| Evaluation factor | Information to confirm |
|---|---|
| Access concept | Front or rear access, service approach and design-specific limitations |
| Room and route | Verified room dimensions, obstructions, doors and delivery-path constraints |
| Cable interface | Entry direction, conductor details, termination locations and connection space |
| Review boundary | Applicable clearances, standards, ratings and approvals confirmed for the project |