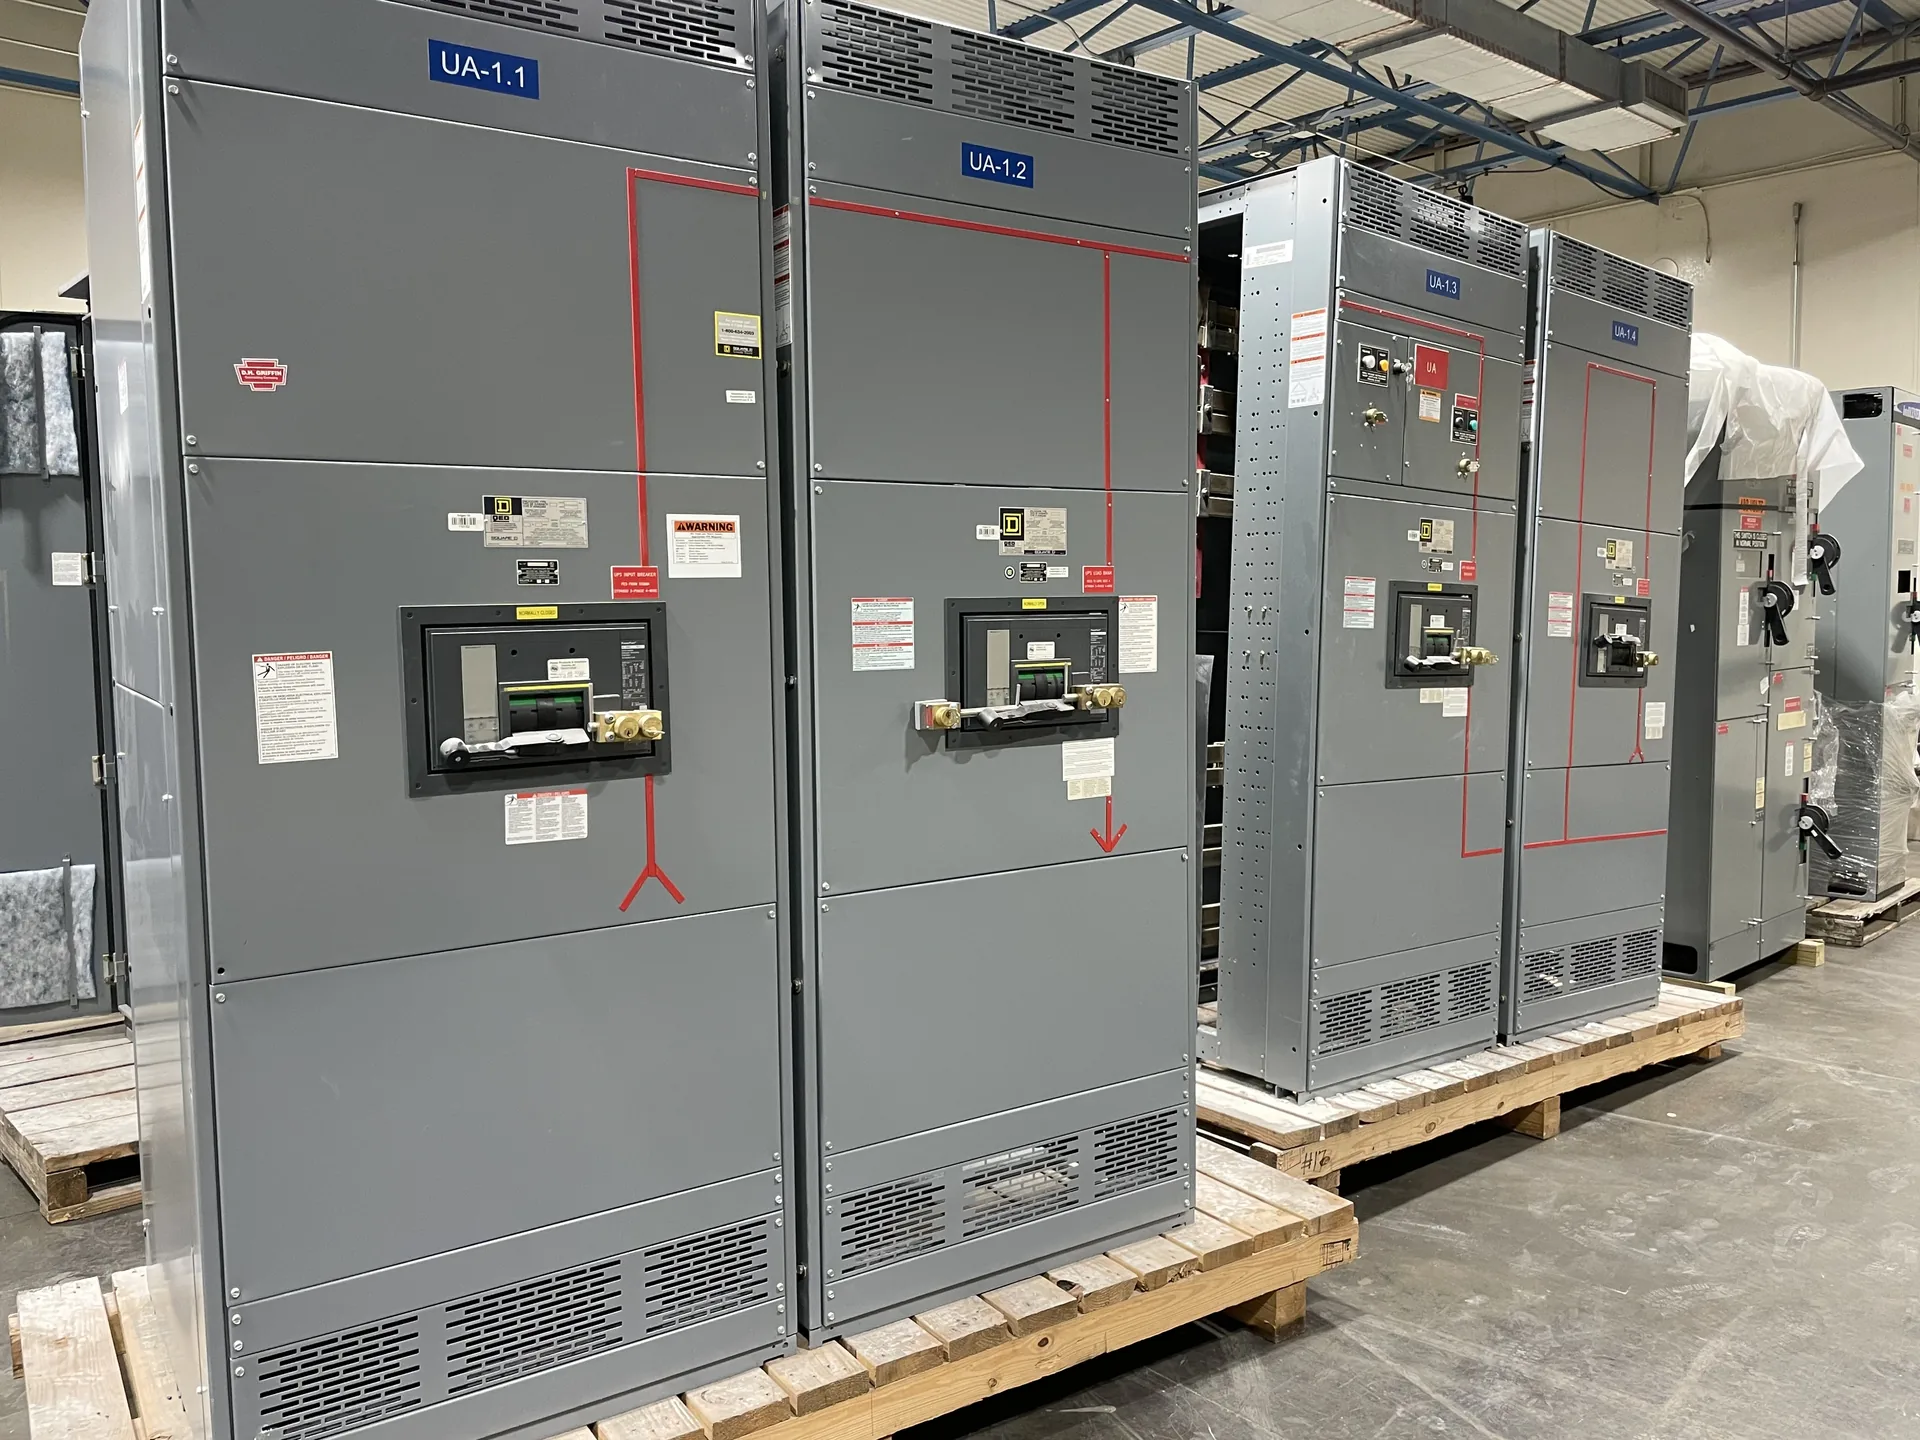
Power distribution, with purpose.
A 400 A value is a useful starting point for evaluating a compact electrical room, not a complete switchgear specification or assurance that a particular lineup will fit. Before requesting a quote, establish how many feeders the distribution must serve, where conductors enter and leave, and how the equipment connects to the building. These details determine whether the proposed arrangement is practical to install and maintain within the available space.
Treat 400 A as one design input
First identify what the 400 A figure describes: a service, main device, bus, feeder, or anticipated load. Those are not interchangeable. A load calculation, utility information, and the project’s electrical design should clarify system nominal voltage, phase, wire configuration, grounding arrangement, and the role of the equipment. The system voltage and the equipment’s applicable maximum rating are distinct values; confirm both for the actual order rather than inferring one from the other.
The number of poles, main-device configuration, bus arrangement, interrupting requirements, and available fault current also affect the design. A 400 A label alone does not establish short-circuit capability or suitability for a specific site. Have the engineer or responsible electrical professional define the required ratings and governing project standards. The manufacturer can review those requirements for a proposed build, but should not be asked to fill gaps by treating the amperage as a complete design.
Measure the room around the lineup
A compact room needs a dimensioned plan, not just a note giving wall-to-wall width. Show the proposed equipment location, door and corridor clearances, columns, overhead obstructions, nearby panels, and any fixed piping or ductwork. Record the usable equipment footprint and the route by which the assembly will reach its final position. Shipping splits, handling limits, and access through doors or turns may matter even when the final lineup appears to fit on paper.
Check working space and access against the applicable design documents and codes through qualified project personnel. Keep required access and egress clear, and account for how doors, covers, and removable parts will be opened or serviced. A narrower cabinet arrangement can trade floor area for tighter access or more difficult maintenance. Any proposed footprint is subject to the selected components, assembly arrangement, and engineering review; do not assume a nominal 400 A configuration has a universal set of dimensions.

Resolve conductor entry and bend space
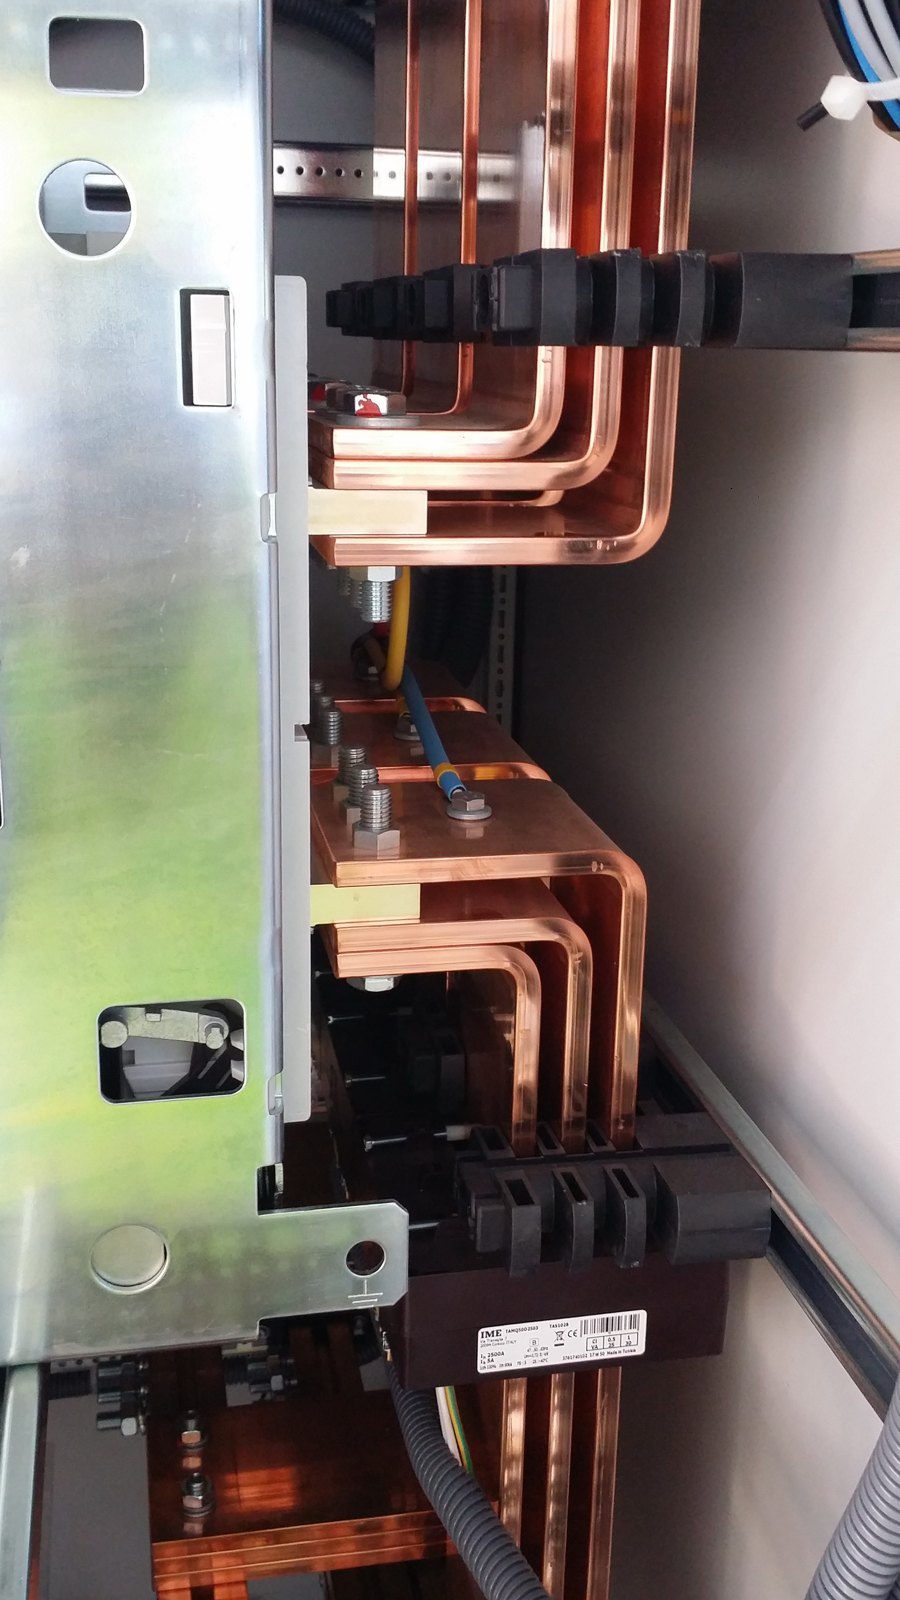
Cable space is often the limiting factor in a tight electrical room. Identify whether conductors enter from above or below, the number and size of parallel sets, conductor material, insulation type, conduit locations, and termination requirements. Include neutral and equipment grounding conductors where applicable. The drawings should show conduit stub-up or stub-out positions and enough surrounding detail to see whether conductors can reach their terminals without colliding with walls, adjacent equipment, or other raceways.
Required bending space depends on conductor size, termination type, cabinet geometry, and the applicable rules for the installation. A cabinet that fits the room can still be unworkable if feeder conductors cannot be routed and landed as intended. Confirm cable entry zones and termination orientations before equipment dimensions are finalized. If there are alternate routing possibilities, document each one for review rather than assuming field changes will solve a conflict after the assembly arrives.
Count feeders before comparing layouts
Prepare a feeder schedule that gives each outgoing circuit a clear purpose and identifies its required device type, poles, load or trip information, conductor details, and destination. Include spare and future circuits explicitly, distinguishing installed devices from provisions that may be reserved for later. Feeder count affects the lineup’s width, component arrangement, internal clearances, and the space needed to route conductors. A rough count that omits controls, metering, or auxiliary sections can understate the required footprint.
Compare a consolidated assembly with a split arrangement only after accounting for room geometry, feeder grouping, cable paths, access, and connection points. Separate sections may ease placement or organize circuits, but can add interfaces and require more wall length or interconnections. A single lineup may use less overall perimeter space yet create denser cable routing. The right comparison is not simply cabinet width: it is a feasible equipment-and-conductor arrangement that fits the room and the project’s operating and maintenance needs.
Supply drawings and load data for a useful quote
For a quote, provide the latest one-line diagram, load information or load calculation, feeder schedule, and available fault-current data. State the nominal system voltage and configuration, required main and feeder functions, specified device and bus ratings, grounding approach, and any metering or control requirements. Identify the applicable project standards and any required documentation. If short-circuit ratings, component selections, or US-origin requirements are specified, include the exact criteria so they can be checked for the particular order.
Add a dimensioned room plan, elevations where useful, equipment location, access route, cable-entry details, and known interface points with utility, transformer, generator, or downstream systems. Mark unresolved items as assumptions rather than presenting them as confirmed facts. This makes scope gaps visible before layout review. Manufacturers may build custom new equipment and can aim for a shorter lead time, but component availability, drawings, final ratings, applicable standards, and schedule must be confirmed for the actual configuration.
Record what still needs site confirmation
A practical comparison should end with an assumption record. Note which wall dimensions are field-verified, whether cable routing is final, who will confirm available fault current, and whether future feeder capacity is required. Flag unclear ownership of conduit, grounding, control wiring, and connections between equipment sections. For projects in Dallas–Fort Worth or elsewhere, delivery access and the route from the receiving point to the electrical room should also be checked; serving a region does not establish that a particular building route is suitable.
Before release, reconcile the reviewed drawings with the electrical design and site conditions. Confirm actual dimensions, equipment ratings, short-circuit requirements, component availability, and any standards or US-origin conditions for the specific build. Low-voltage switchboard assemblies may be evaluated for UL 891 applicability when appropriate, but that standard is not a general listing for medium- or high-voltage switchgear. A final selection requires project-specific engineering review, not the 400 A figure alone.
Specifications & planning
Review the details that matter for your application. Final specifications and availability should be confirmed for your project.
| Evaluation factor | Information to confirm |
|---|---|
| Room envelope | Usable width, depth, height, access route and obstructions |
| Cable routing | Entry direction, conduit locations, conductor sets and termination needs |
| Feeder count | Installed circuits, device requirements, spares and future provisions |
| System requirements | Nominal voltage, configuration, load data and available fault current |